For my own experience and to challenge the skill set I learned at SF Guitarworks, I decided to make a Paul Reed Smith truss rod cover for my PRS 30th Anniversary SE Custom 24, Lotty.
PRS is my all-time favorite guitar company, ever since I saw an Emerald Green PRS Custom 24 at Gelb Music in 2003. When I saw the 30th Anniversary models come out on Sweetwater, I knew I had to own one. The purple quilt maple was an absolute no brainer. I also decided to test out some of my repair skills on the instrument by upgrading various parts of it. First, I upgraded the stock electronics to a completely solderless EMG 81/85 system. Next, I swapped the knobs for ebony knobs and upgraded the tuners to ebony button Schallers. They didn’t fit 100% so I had to modify them, squeezing the top two onto the headstock. It was certainly an experience sanding the machines on a belt sander.
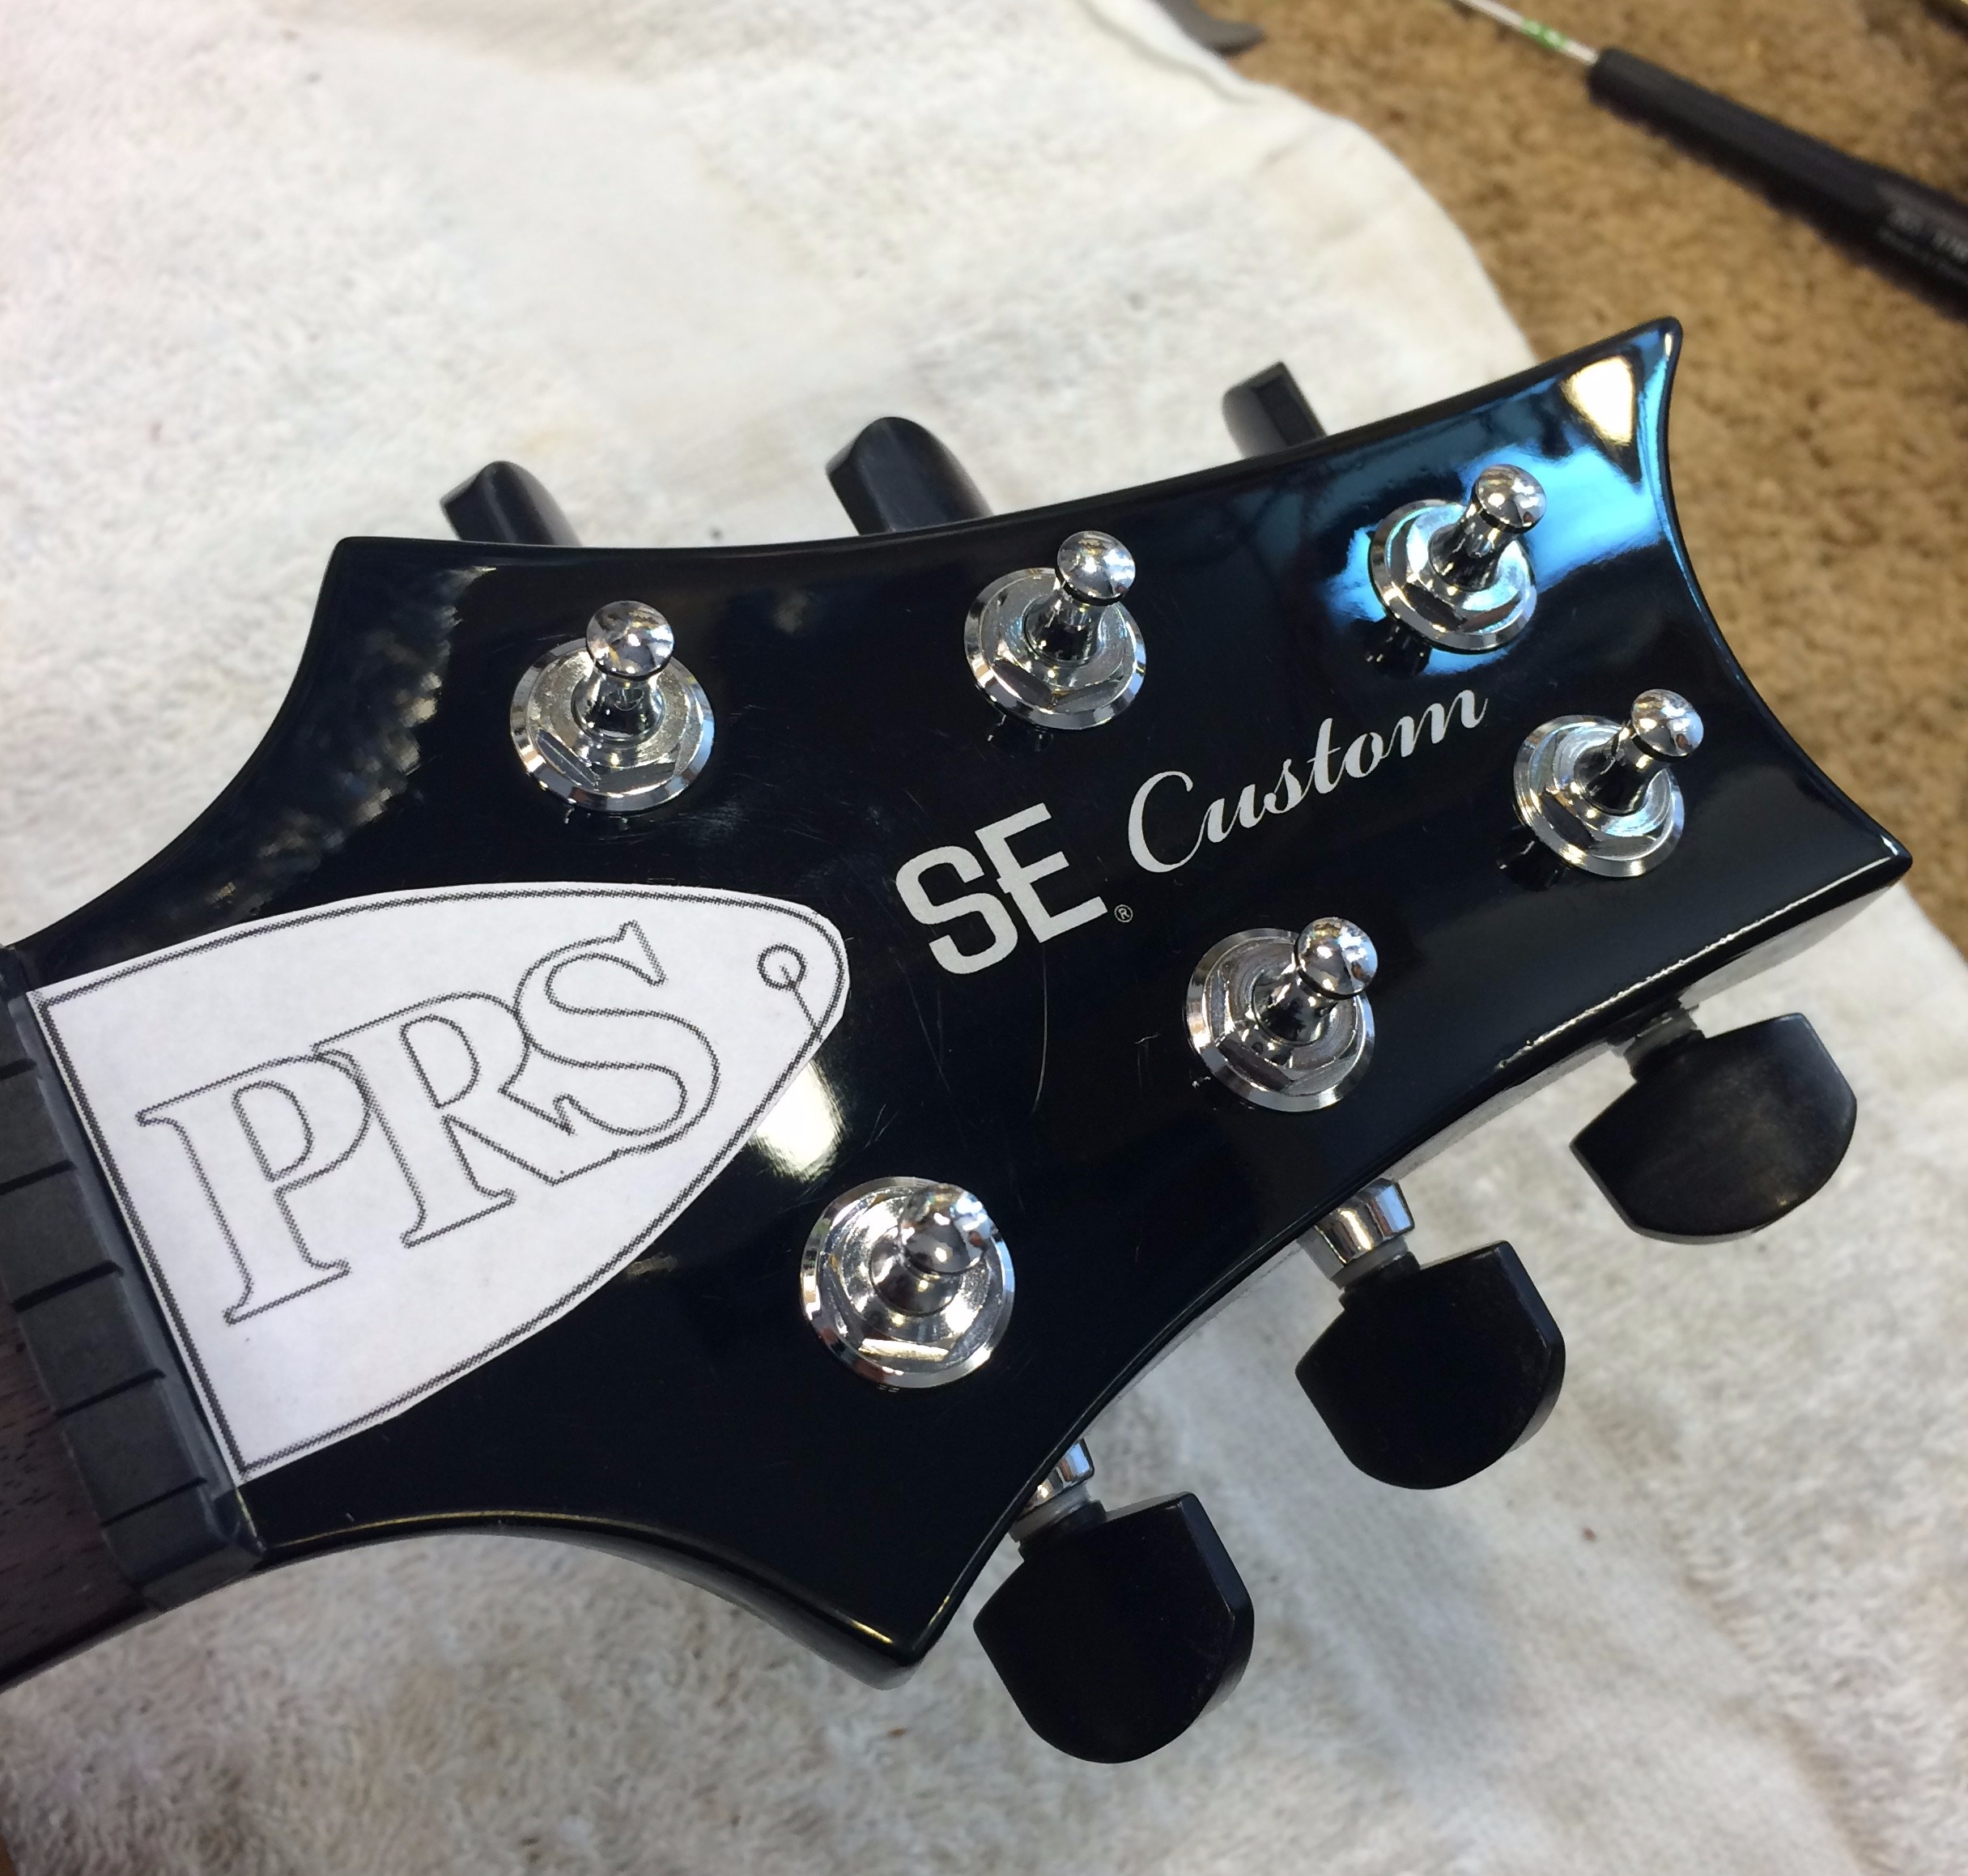
However, poor Lotty was not given the PRS designation. This made me sad, as I proudly rep the companies I’m passionate about, so I decided that making a truss rod cover from scratch would be the best way to honor the 30th Anniversary model. For this project, I enlisted in the help of my friend and colleague, Lewis Santer, who has considerable experience building guitars and doing inlay work.

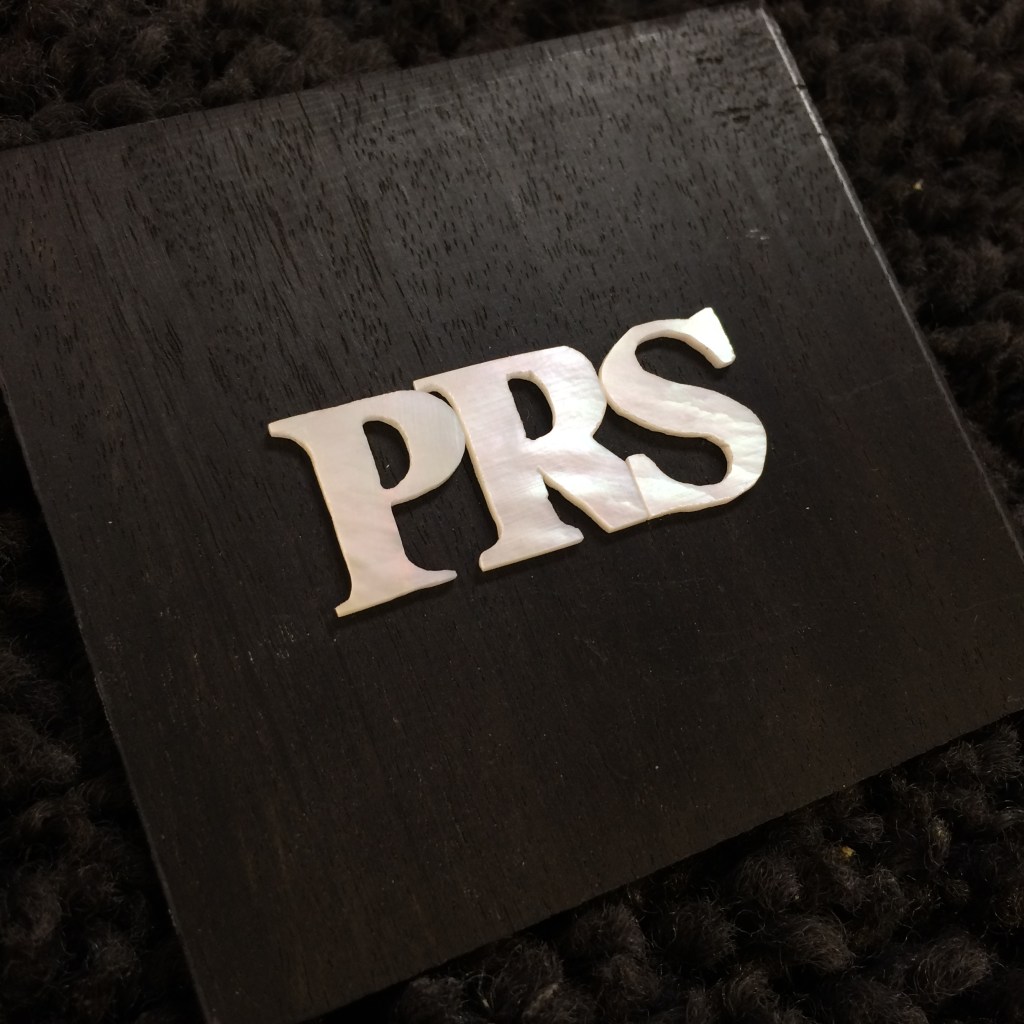
I started out by making an image of the logo onto a 1:1 scale truss rod cover template I found online. I then ordered the mother of pearl inlay from StewMac and then got to work with the jewelers saw. Lewis explained to me it’s common to break the blades frequently, but as I went along cutting out the MOP blanks, I realized that “frequently” is really an understatement for “you might use all the blades.” Combining all the time I spent on this, it took me roughly 6-8 hours to cut out all the letters. I attempted to shape them until we realized we did not have files small enough to fine-tune the edges. Lewis showed me how to gently shape them with the correctly acquired files until I felt they were accurate enough. I discovered there’s a very fine line between “do I keep sanding to correct this edge” and “do I stop so I don’t take off too much?”
With the letters gently cut out, the real work began – inlaying them. Admittedly, I have only done inlay work once before: I inserted pre-made fretboard abalone dots onto my Mermaid Strat, which was tough but much easier to work with. I did two test dremel runs onto random pieces of wood, confident I could nail the very detailed letters on the first try.

Unfortunately, I didn’t nail the dremeling of the letters. Carving the inlay by hand meant there were very tiny nuances of pearl that were hard to recreate exactly from the original tracing. Eventually, I opted for a “swimming pool” style route, which is really where my trouble began. I didn’t fill the route with enough tightly packed ebony dust, nor did I fill the route with epoxy. Nevertheless, I persisted. The result was splotchy. I couldn’t get the excess pearl dust off the top of the truss rod cover. Things started to go south. Thankfully Lewis stepped in to help me try to save the day (and what was left of my sanity at this point [thank-you Lewis]).
The shaping of the truss rod cover turned out nicely. I used a variety of sandpaper, nail buffers, and elbow grease to soften/round the truss rod cover into shape. We did end up using a combination of dye and black CA to the surrounding area of the letters to match it closely to the ebony.
For my first homemade inlay project, I am very happy with the results. I now look down at Lotty’s headstock and think to myself “part of my blood, sweat, and tears went into making this a cooler guitar.” It fills me with immense pride knowing that I am capable of this type of work. Next up – a dragon perhaps? 😉

